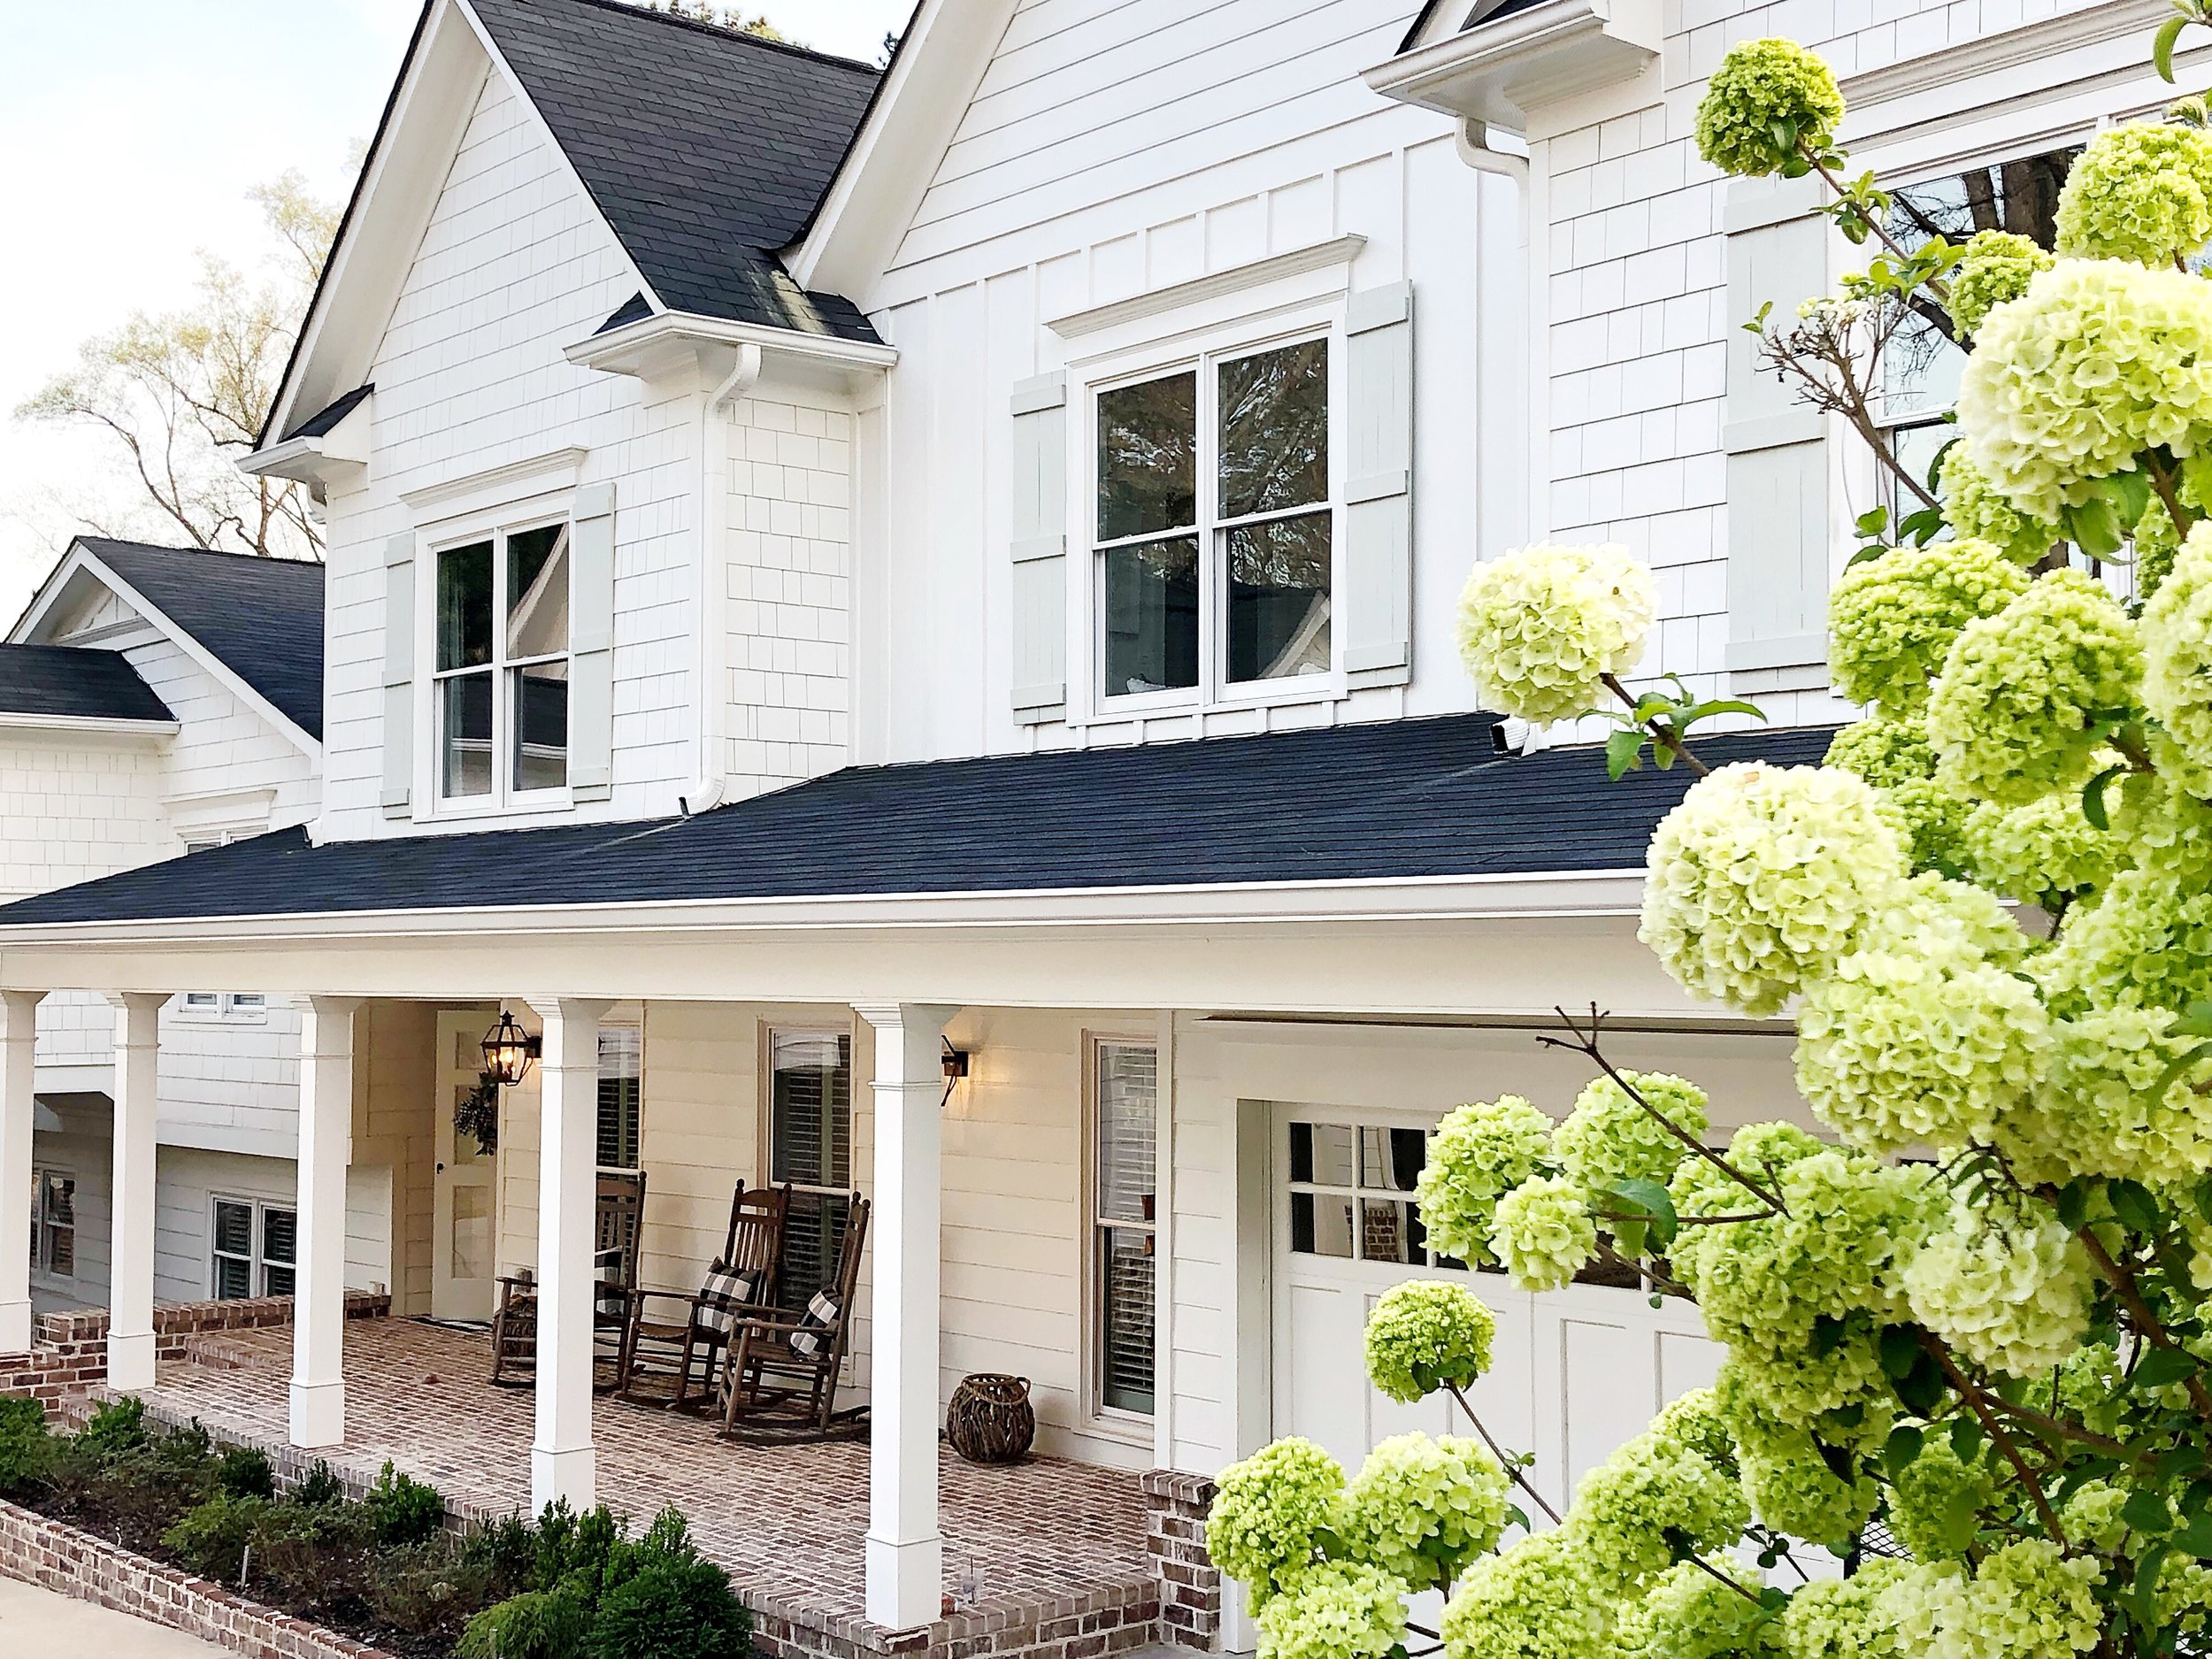
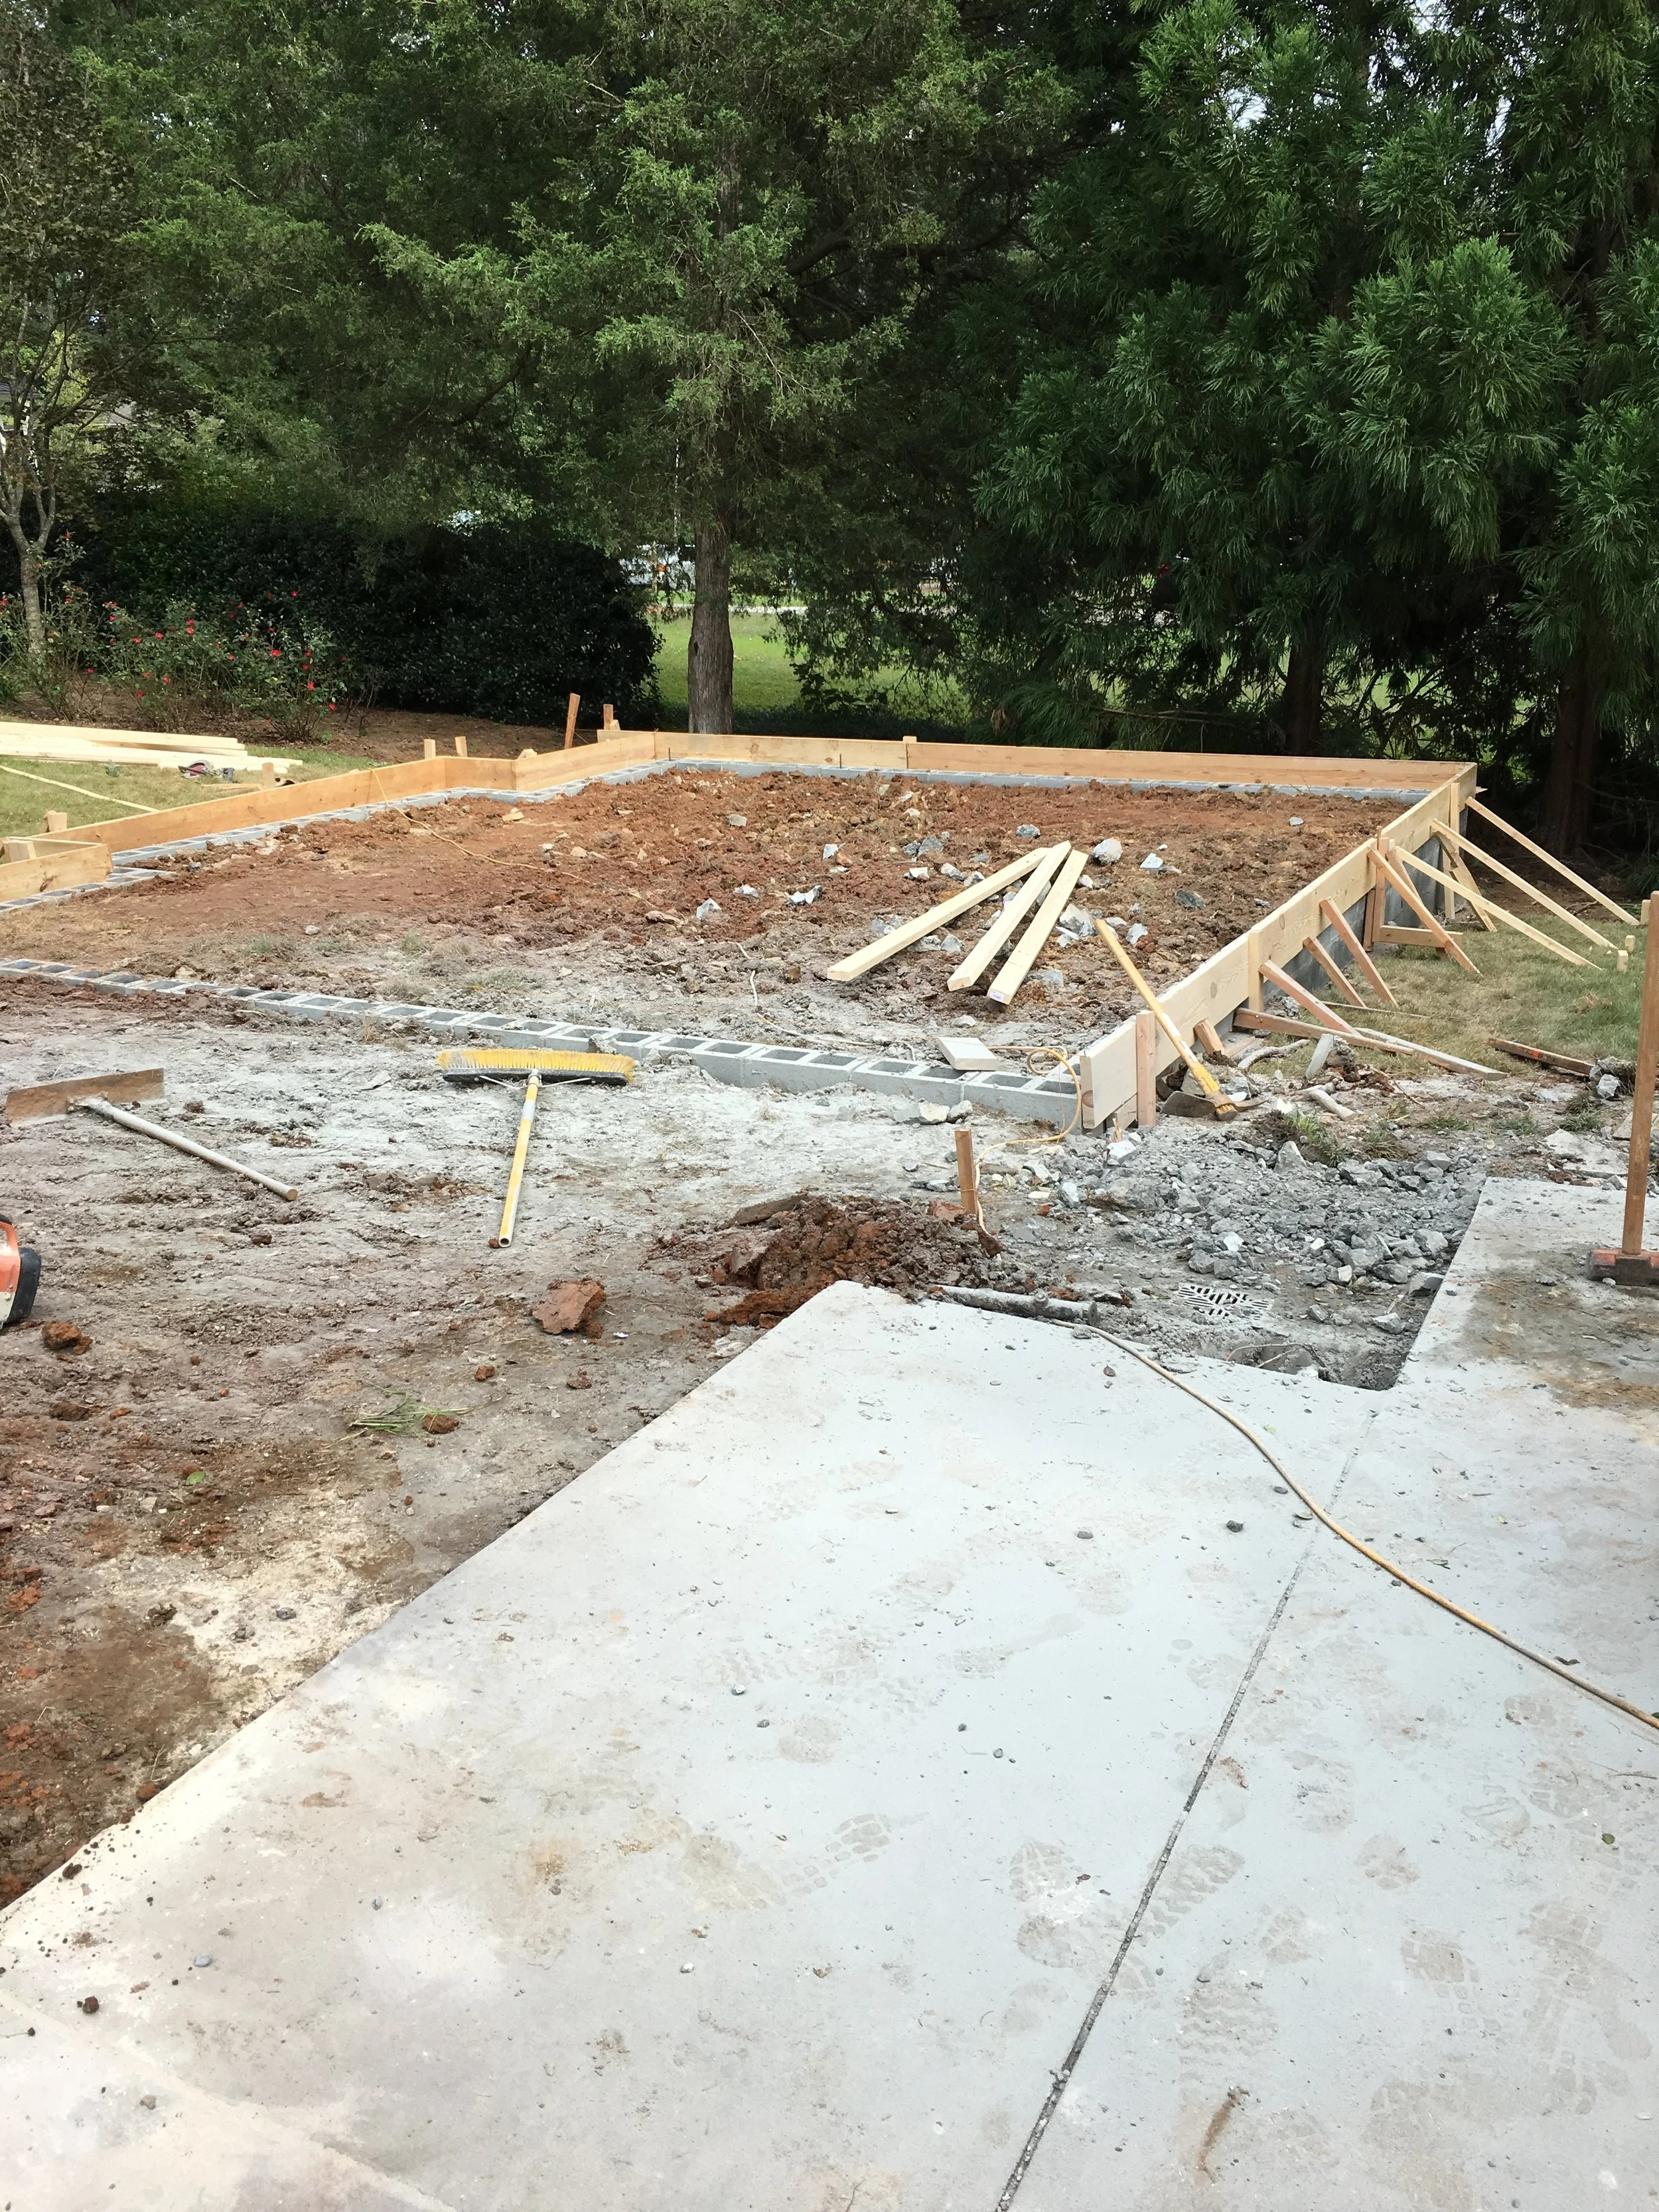
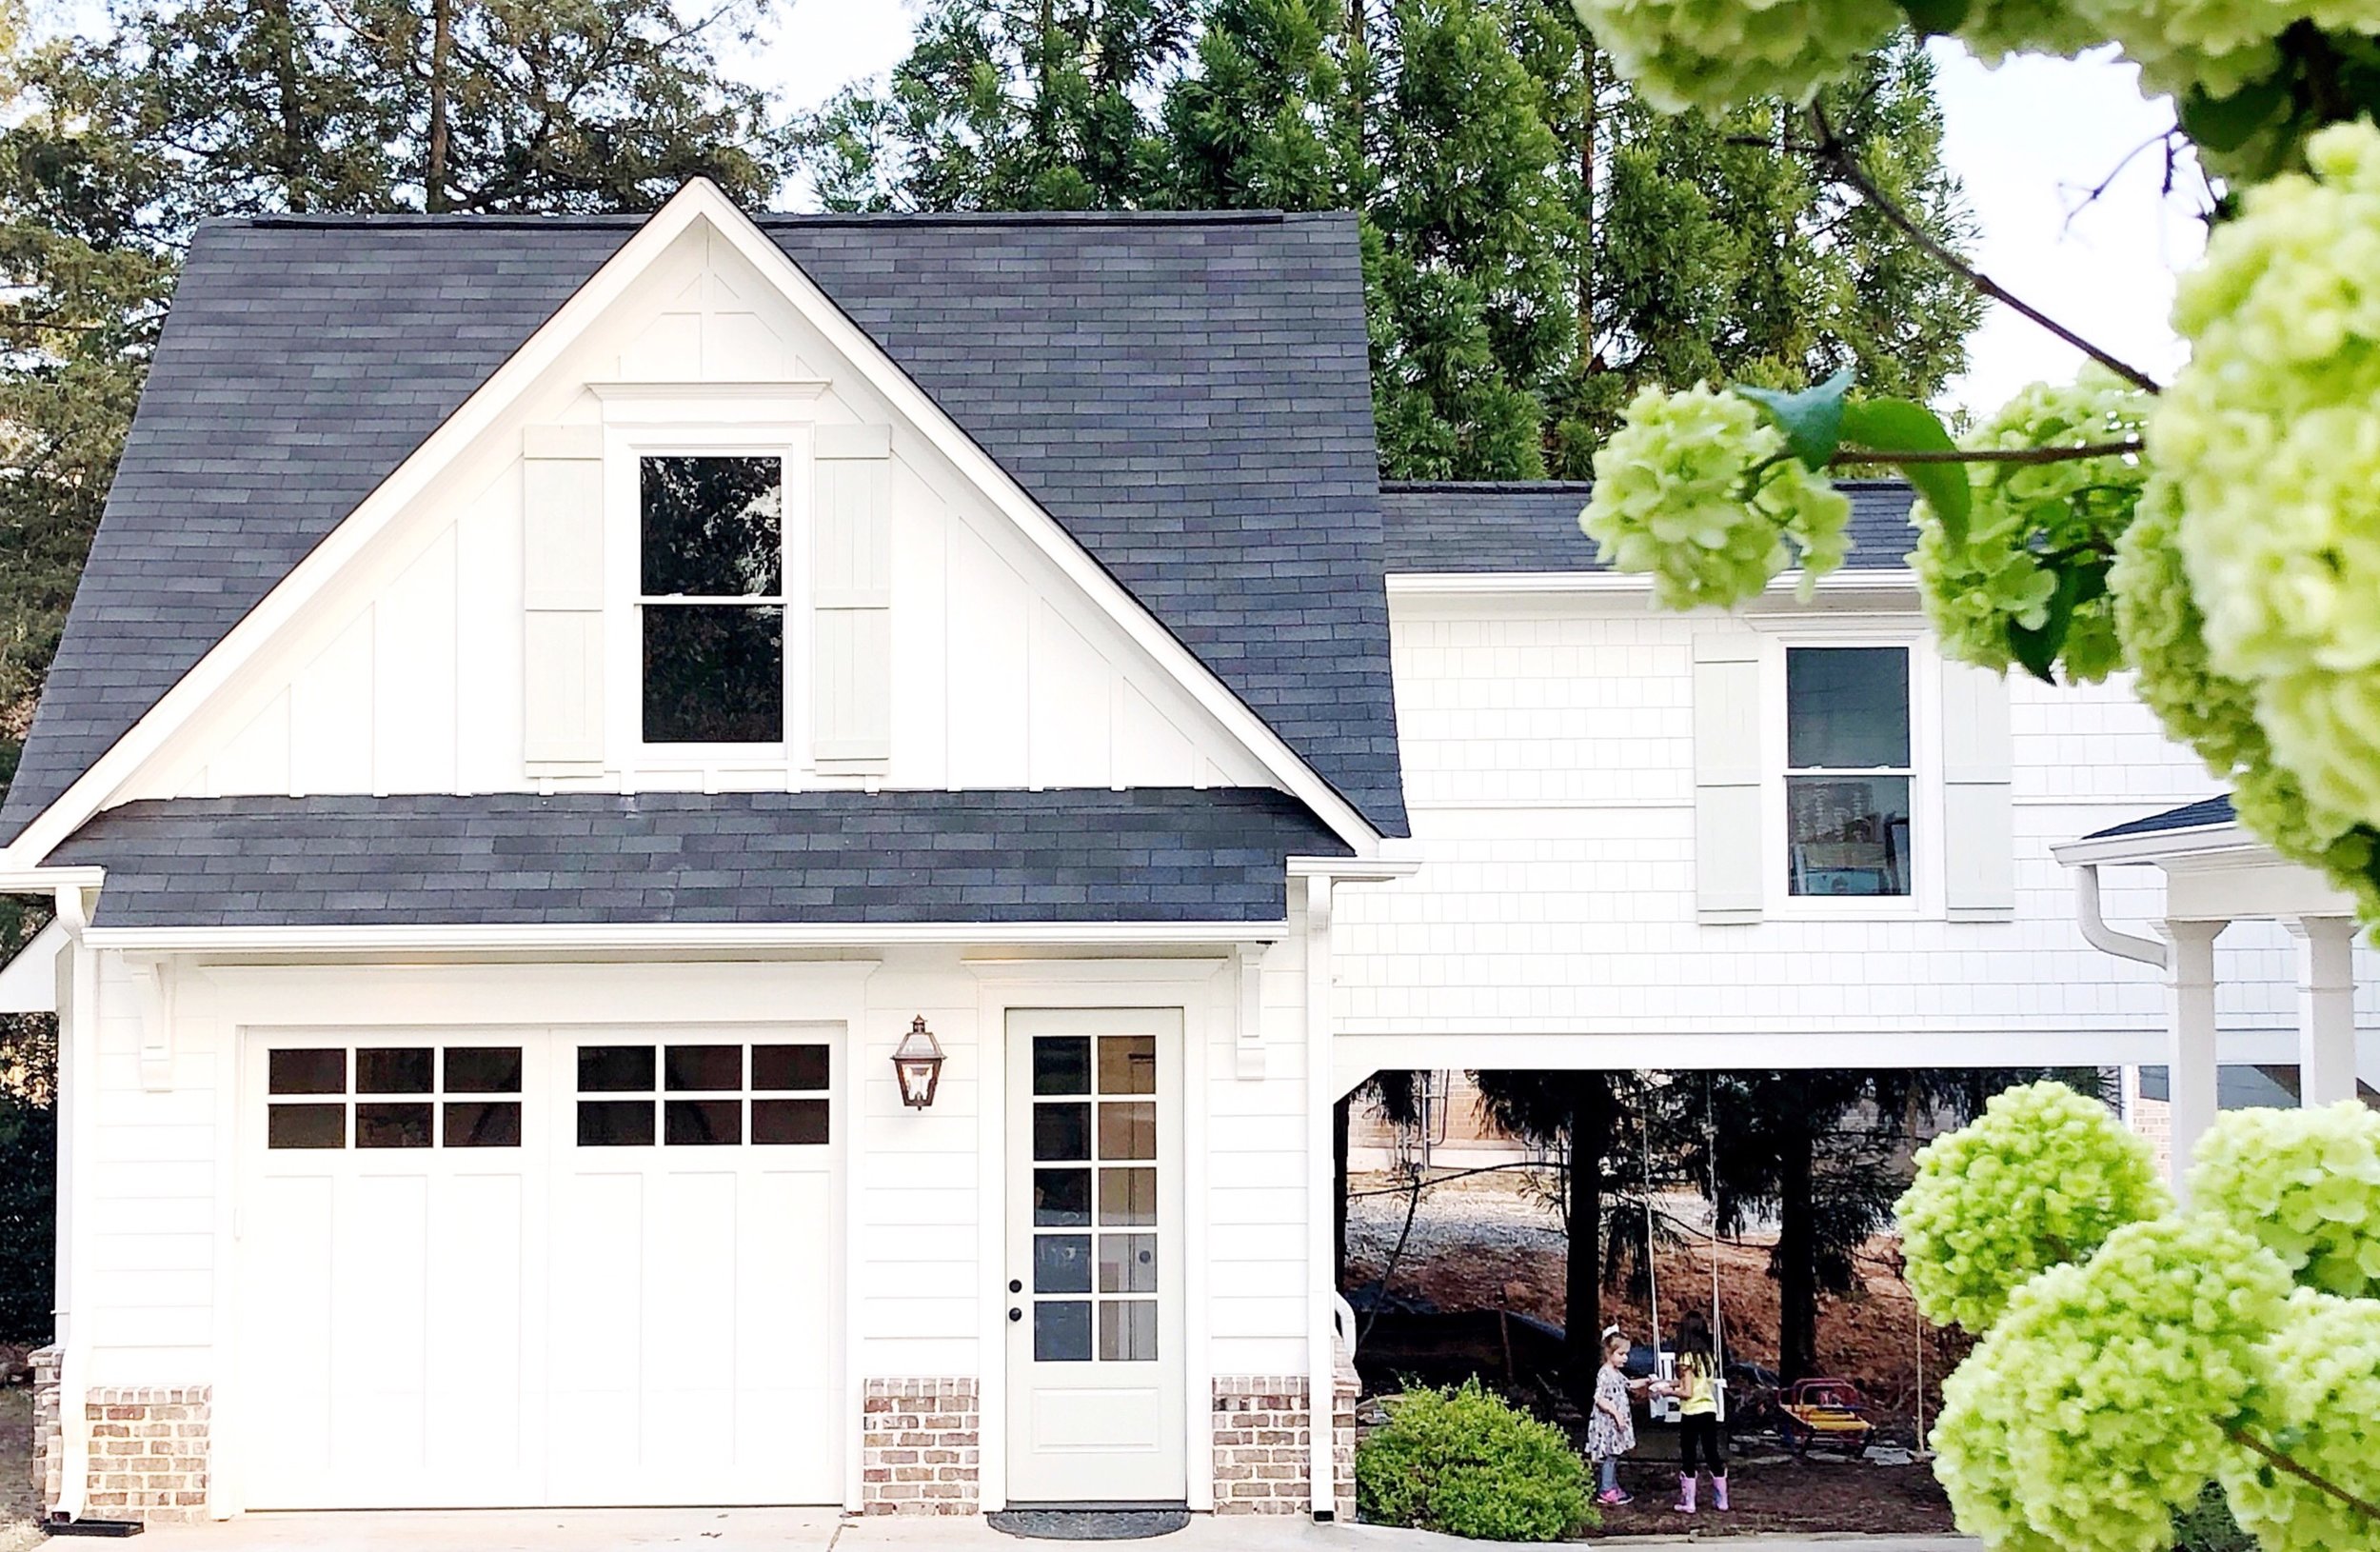
Our Exterior transformation was definitely the main focus of our renovation! When we bought the house, we knew that it had a floorplan we could work with, but we didn’t know for sure how we would transform the outside. Below is a “Before & After”, but keep on reading for all the fun details :)

Our contractor (Clark Porche of Porche Remodeling) worked with a wonderful architect, David Doran of Classical Concepts Atlanta. He worked completely off of pictures and we were blown away by his skills! We went through various exterior “looks” and finally settled on how it looks now :) Here are the various renderings of the different drafts…the top is the one we settled on (but the upper middle window became a double window)!

I really wanted to keep the exterior as “simple” as possible. We went with cedar shake (that we painted) mixed in with the batten board siding. I really wanted a metal roof above the porch, but we went slightly over budget, so we put that off until further down the road. (Reno Tip- During a renovation, be prepared to make some sacrifices due to budget…and to go over!)
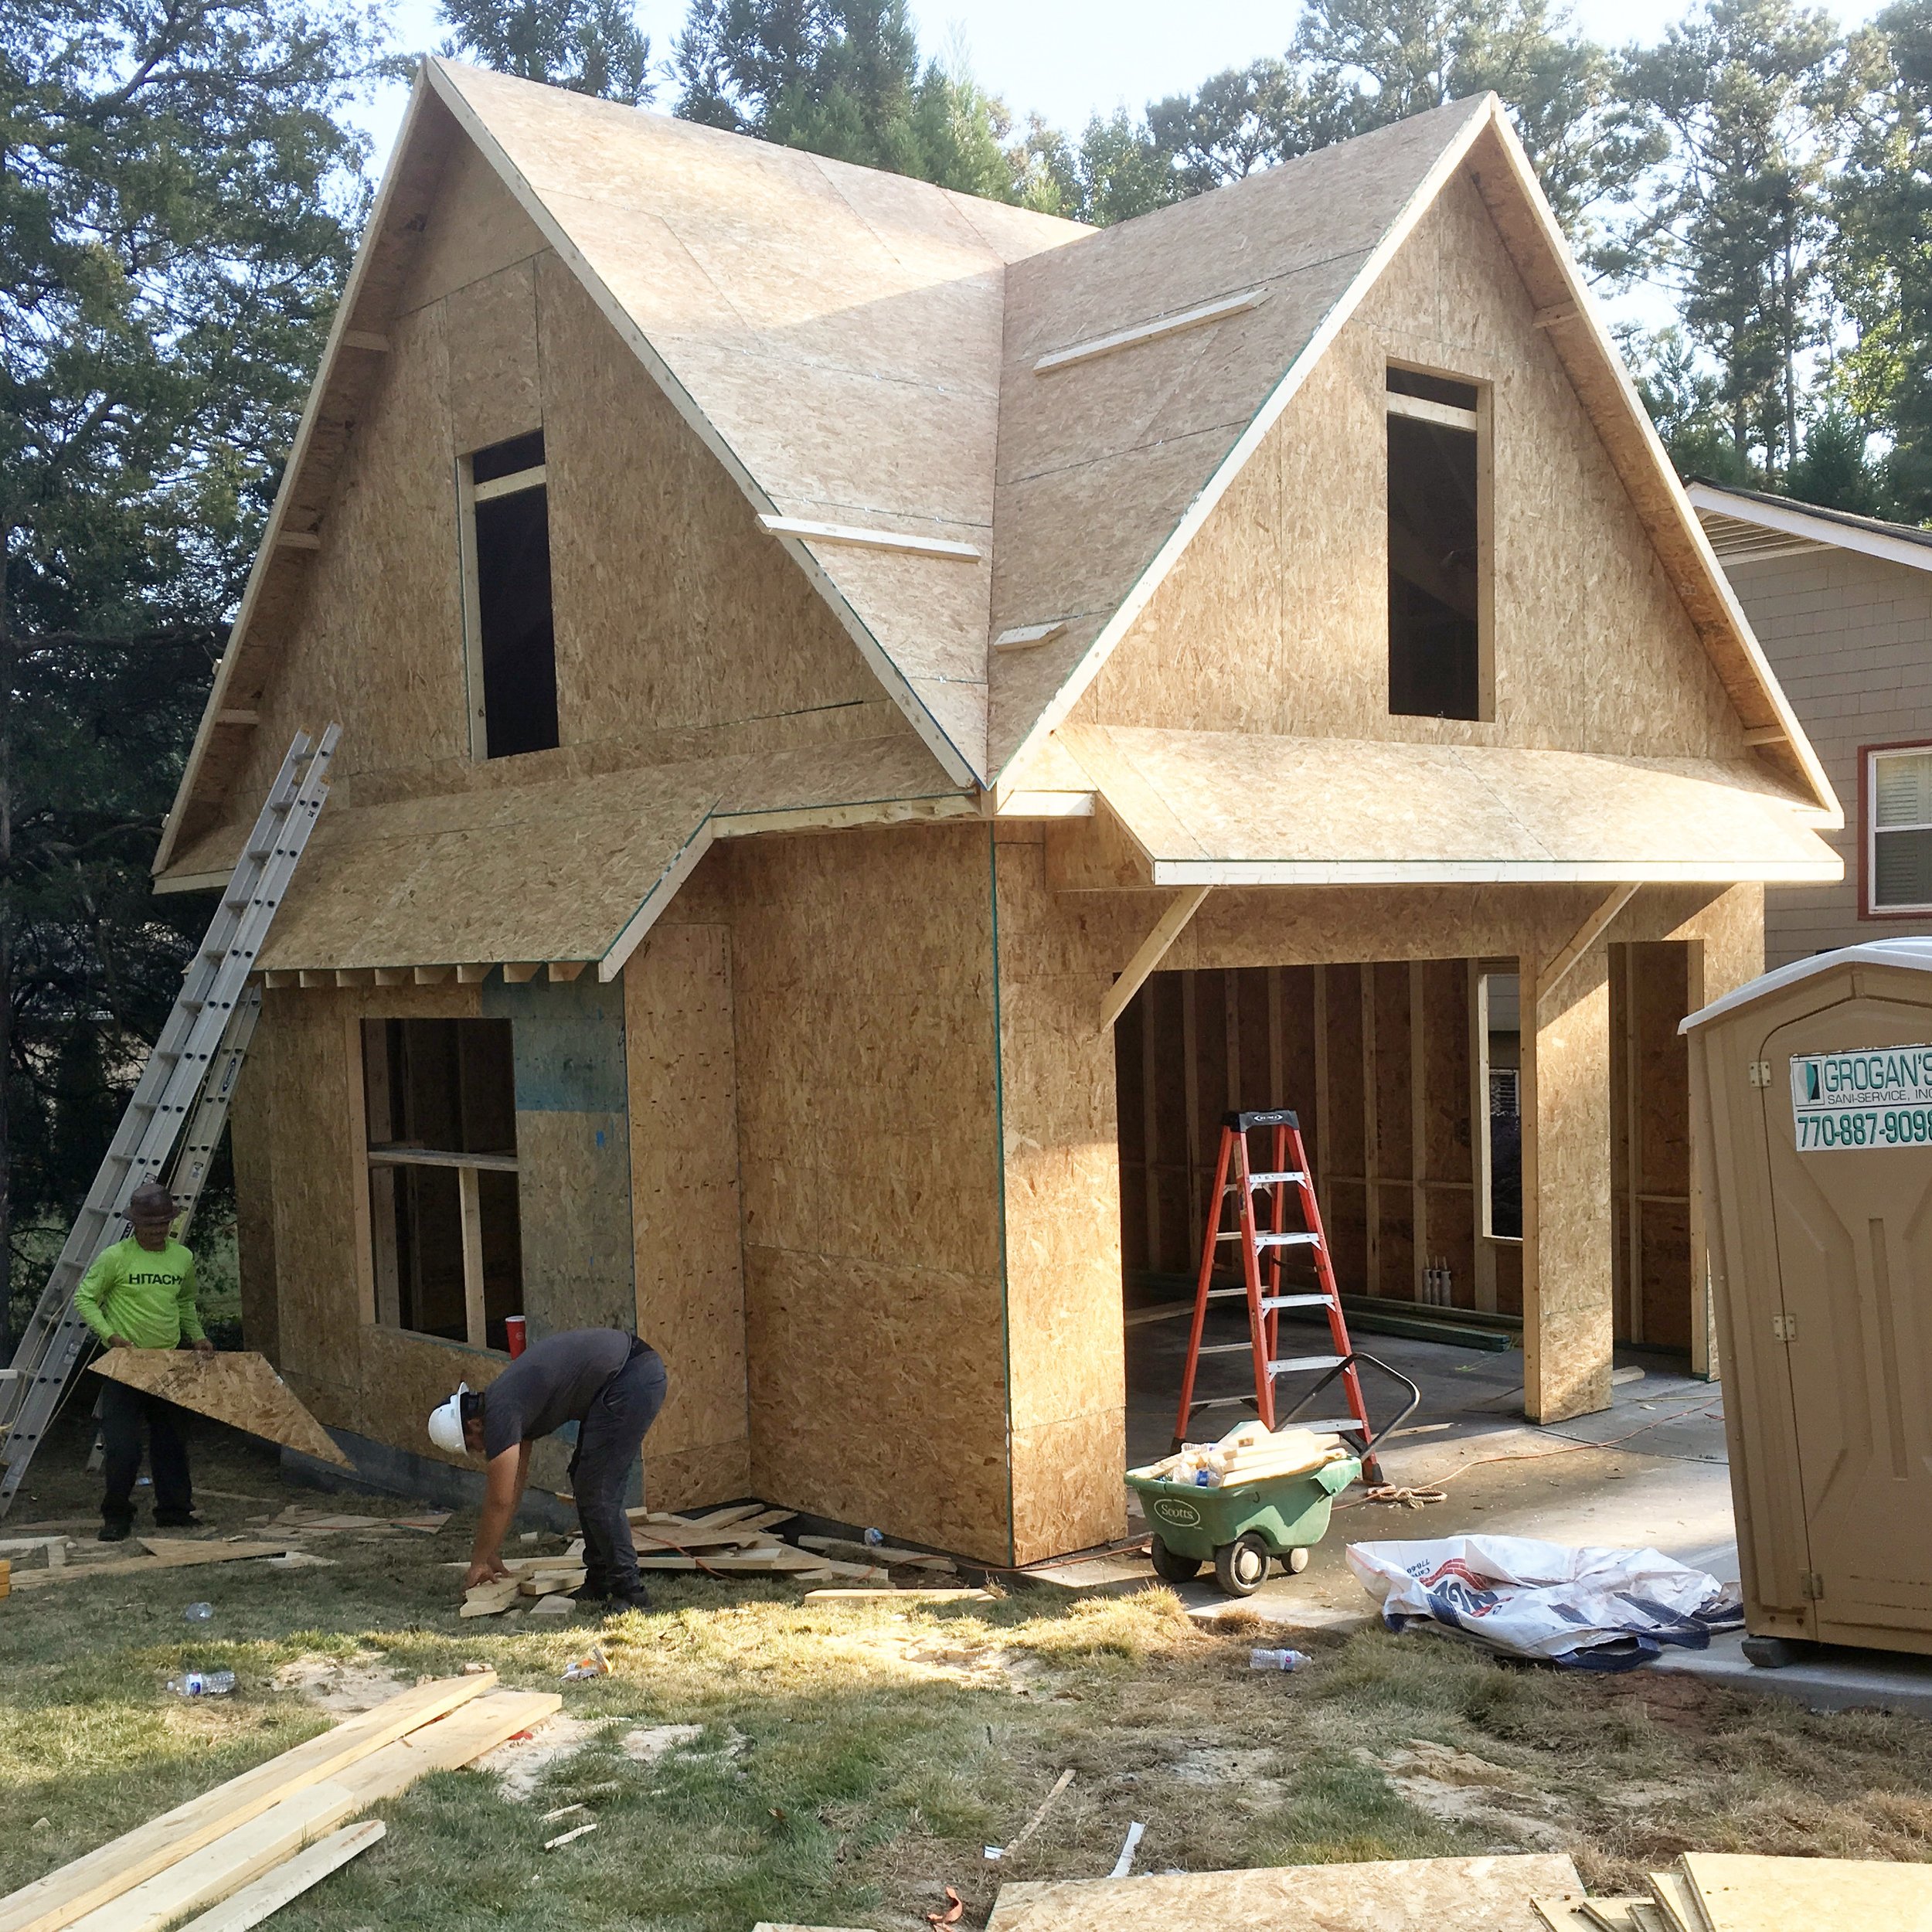
In order to make room for our powder room addition and laundry room expansion on the interior, we pushed the garage out (front) by about four feet or so. We carried the roof line across the new front porch through the existing garage. I have to admit, I was slightly afraid to cover the front porch because we received SO much natural light from those four windows. We did lose a little bit of direct sunlight, but we still get plenty of natural light (thank the Lord) and we LOVE having a big front porch- so it turned out okay!
The front porch swing is from Ballard Designs, we absolutely LOVE it! The Lanterns we went with are electric because we didn’t want the added expense of running the gas line. They are under $205 and are SO pretty- I highly recommend them! Our front porch rocking chairs are from Home Depot. Our exact ones look like they are out of stock, but I love this one and this one as well! The rug under the swing is from Target and the scalloped outdoor side table is from Ballard Designs as well. The rustic round wood lanterns are from Pottery Barn but look like they are discontinued.


My husband and his father decided (almost on day 1) that we were going to add an additional garage. This was a pretty big cost and I just didn’t get it. Sure my husband’s F-150 didn’t technically fit in the existing garage, but I still didn’t get it. It was going to take up a huge chunk of our budget. They were adamant that this would be a large value increase to our property and we were going to do it. At first, it was going to be a detached garage with a pull down attic space above. The inside of the new garage is pretty roomy and can comfortably fit his truck, a lot of shelving, toy/bike storage, and there is a closet for all of his tools. We were wrapping up on the reno and had one of the final inspections when the inspector let us know that a recent change in the code in our county was that garages had to be attached to the main house by a roof. This really threw us for a loop. We were at the end of our project- and our budget!! Our contractor wasn’t aware of this code because he previously built a lot in another county where this code didn’t exist.
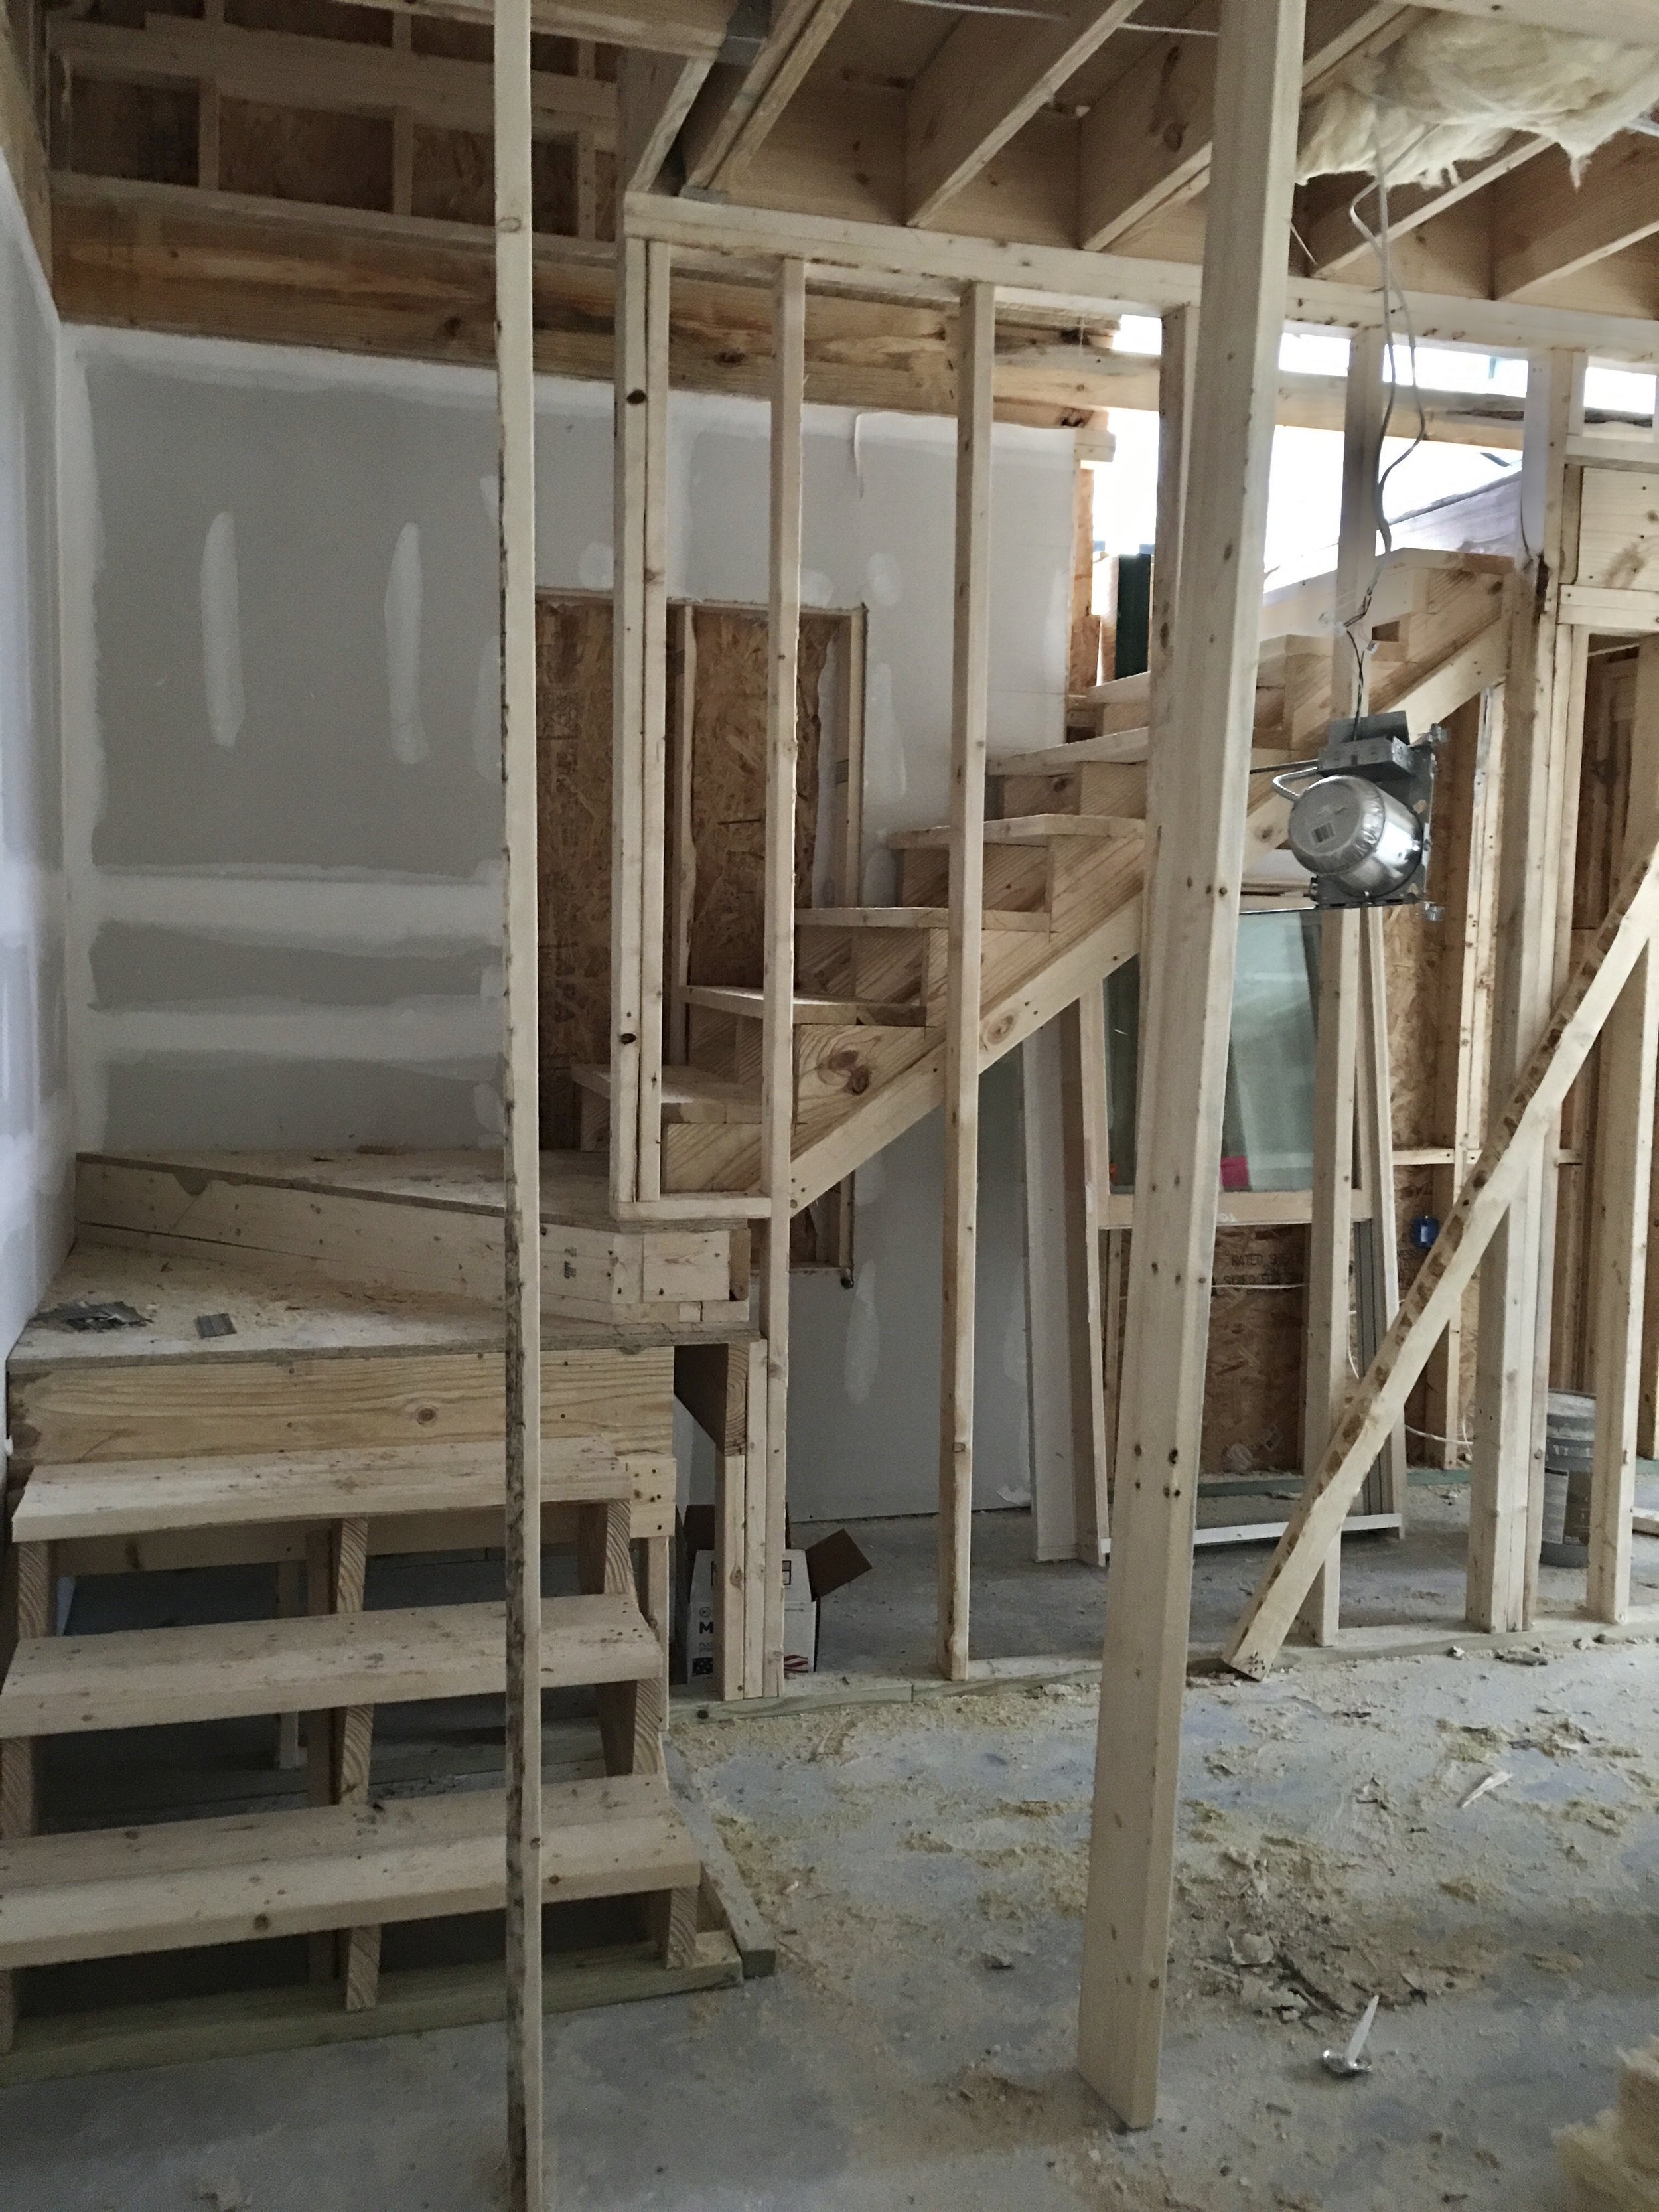

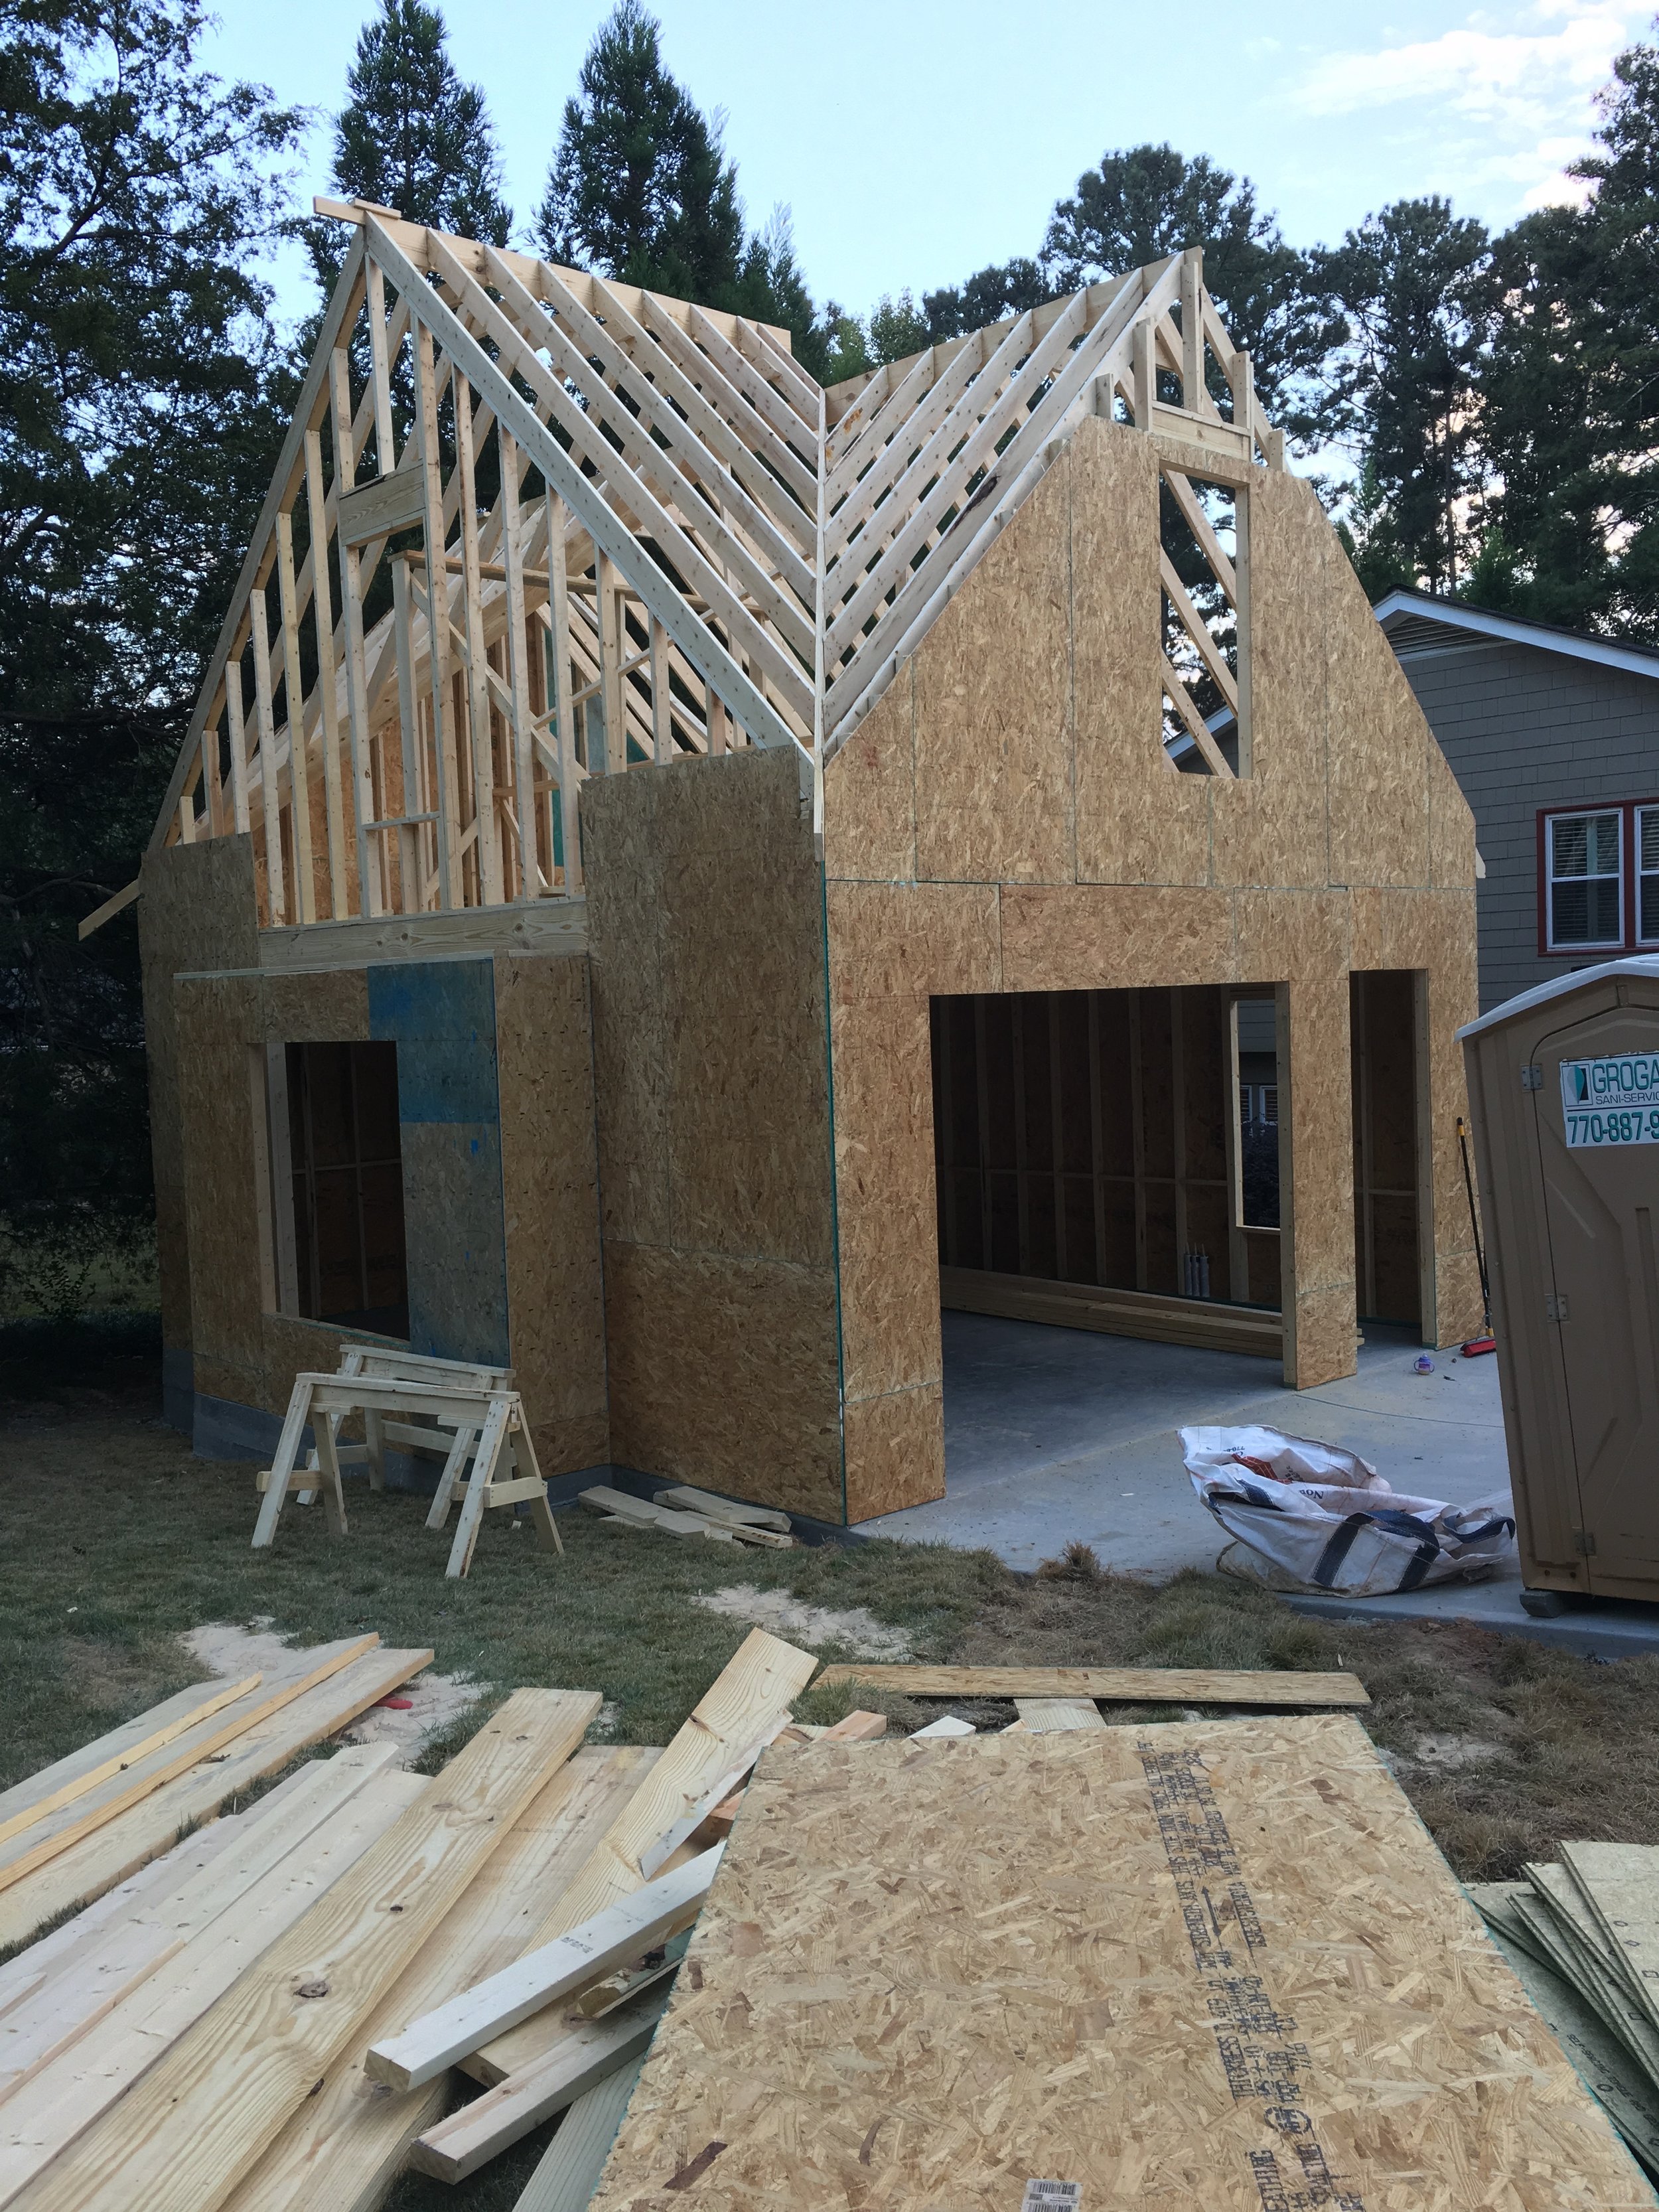
We were pretty confused on the best way to go about this. We could have applied for a variance, but this could possibly have taken months. It also may or may not have ended up being approved…so we could have potentially been back to the same place months later. We talked about connecting it with a “garden/bench” area, or a trellis, or to the main front porch. None of these ideas really seemed to ‘work’. The architect drew a few sketches, but they all felt out of place and unnatural. We finally went back to the architect with the idea of connecting the attic of the new garage with a breezeway to the landing of the main house (my office area). There was a huge closet in the office that we could easily demo and use this as the connecting space. Although this was WAY more than we wanted to spend (especially at this point in our reno) it ended up working out perfectly.
We added stairs in the garage leading to the top level/connection, closed up the pull down attic entrance, added a closet on top of the garage so this space could be counted as a bedroom, and voila- connected it to the main house! There is door at the top of the stairs in the garage and a door separating it inside from the main house (with a bathroom right outside of it), so it is a pretty private area. It will make for a great guest or in-laws suite one day when we end up finishing it. We dry-walled it and did electric already, so it is partly finished :) I think it will be a good project for my husband to finish this space out on his own. I’m seeing a gym in our future?!
We hung two wooden swings under the breezeway which quickly became one of the girl’s favorite hang out spots!
In the back, we covered the existing patio area overlooking the pool and added skylights. We also expanded the cover to the side area of the house so it could cover our grills! My husband wants to make this side area a screened in porch one day, but that is TBD. The Summers get SO hot in Georgia, so we knew that we would use the pool a lot more if we had a functional covered space. I was also really nervous to close in this back patio seeing how we already lost some natural light from covering the front porch…I didn’t want to lose anymore light covering the pack patio as well! I finally convinced everyone to add skylights into the roof of the back patio (and might have shed a few tears!) I am so glad we did because not only do they look great, but they bring so much light into the patio area and our main living area. We still need to do railings on the part of the patio that overlooks the pool…I think a raised bar would be awesome here as it overlooks the golf course- but I also don’t want to block the amazing view of anyone sitting on the patio with a bar. Decisions, Decisions…


Okay now for the sources! We used Sherwin Williams Dover White on the whole exterior. There are SO many white paint colors y’all, so this was a really hard decisions. I ultimately landed on this one because it was a great warm white compliment to the brick in the front. If we had gone with stone instead of brick, I likely would have done a more crisp cool white color versus a warm white. The shutter and door color is Sherwin Williams Ancient Marble (its is a perfect gray green!) The brick on the front porch and garage are Harbor Shoals by North Georgia Brick with a white mortar. We matched the existing wood garage door (this was also a big debate, but I LOVE a wooden garage door). We worked with Overhead Door Company in Atlanta who built our original one to match the new one. Wooden garage doors are more expensive than aluminum, but I really wanted to match the existing and LOVE the look of the real wood. The roof shingles are GAF and the Charcoal color. I love the dark black contrast of the roof with the white paint on the house.
If you have any other questions, feel free to DM me on Instagram @ThePorchePlace and I am happy to help and try to answer!