DIY HOME DECOR BEAD TUTORIAL
These DIY Home Decor beads (also, referred to by some as “Blessing Beads”) are one of my absolute favorite craft projects to make at home and with my girls. They are the perfect gifts for so many occasions- they’re thoughtful, affordable and gorgeous to put in any room of the house! We give these to teachers, for baby & bridal showers, to grandmas, aunts, sisters, etc :)
I’ve had a lot of interest in a tutorial on how I make these…so here you go :) Happy Crafting!!
The wooden beads that I use for this can be easily ordered on Amazon Prime here! The larger beads are 25mm, medium beads are 20mm and the smaller ones (on the angel above) are 14mm. These are by far the priciest part of this craft, BUT you can make a lot of bead strands out of each order.
I use 3mm jute twine that you can easily find at Michael’s Arts & Crafts store or you can order some on Amazon here :) To thread the twine through the beads, I have large sewing needles that I use a lot, but scotch taping the ends works really well too!
I use acrylic paint for these- my favorite kind of paint by far is the Martha Stewart line. I love the colors and the quality is really good too. This greige color below is what I use for the base color (it gives it a stone/clay look). I like to use white on top, but sometimes mix it up with a metallic gold, white or silver. For Christmas, it’s fun to do a red base with gold on top!
The clay is white oven bake clay that you can order online or grab at Michaels. I really like the Sculpey brand- it works really well and is usually the most affordable.
So, in summary you’ll need: White oven bake clay, Wood Beads of various sizes, Jute twine & Acrylic Paint.
You can either sculpt the clay pieces yourself or (like I do) buy some cookie cutters in various sizes! I ordered all of mine off of Amazon (hearts, a cross and an angel, but there are so many places you can find these :) For reference, my cookie cutters are all about 3”-4” in size.
The easiest way to “paint” the beads is to get a tupperware container and put the paint on the lid. Don’t put TOO much because it will coat the beads too thick. I would start with less than you think and you can always add more as needed. Shake for about 15 seconds up and down and back and fourth.
Once they look good and covered, spread them out to dry on aluminum foil. Ensure that the beads are not touching as they dry.
After the first base coat dries (about 30 minutes) repeat with the top coat color. The beads below have white as their top coat color.
While the beads are drying, go ahead and knead the clay, roll it out (I use a rolling pin but you can also use a cup) then use a cookie cutter of choice…or form your own creation!
When your clay pieces are ready to be baked, be sure to poke a decent sizes hole towards the top (not too close to the top!) to thread the twine through. Then you’re ready to follow the baking instructions and put the clay in the oven! Usually this only takes about 15 minutes…be sure to watch it close so it doesn’t burn!
When the clay is done, let it cool, then you are ready to paint! I go ahead and do a big batch at a time and keep the clay “charms” on hand to make later necklaces.
Now it’s time to start threading your beads! Cut a piece of twine big enough and leave a good bit of extra for threading and tying. If you are using different sized beads, plan out where you want the various sizes to go. I usually do thicker ones at the top (in the middle) then medium sizes ones along the sides. Save one bead to tie above the charm too! Do an odd number of beads (not counting the one above the charm) so there is a “middle” bead at the top. If there is an even number, there wont be a defined middle (which is not the end of the world) but if these will be hung, it is nice to have a middle for balance.
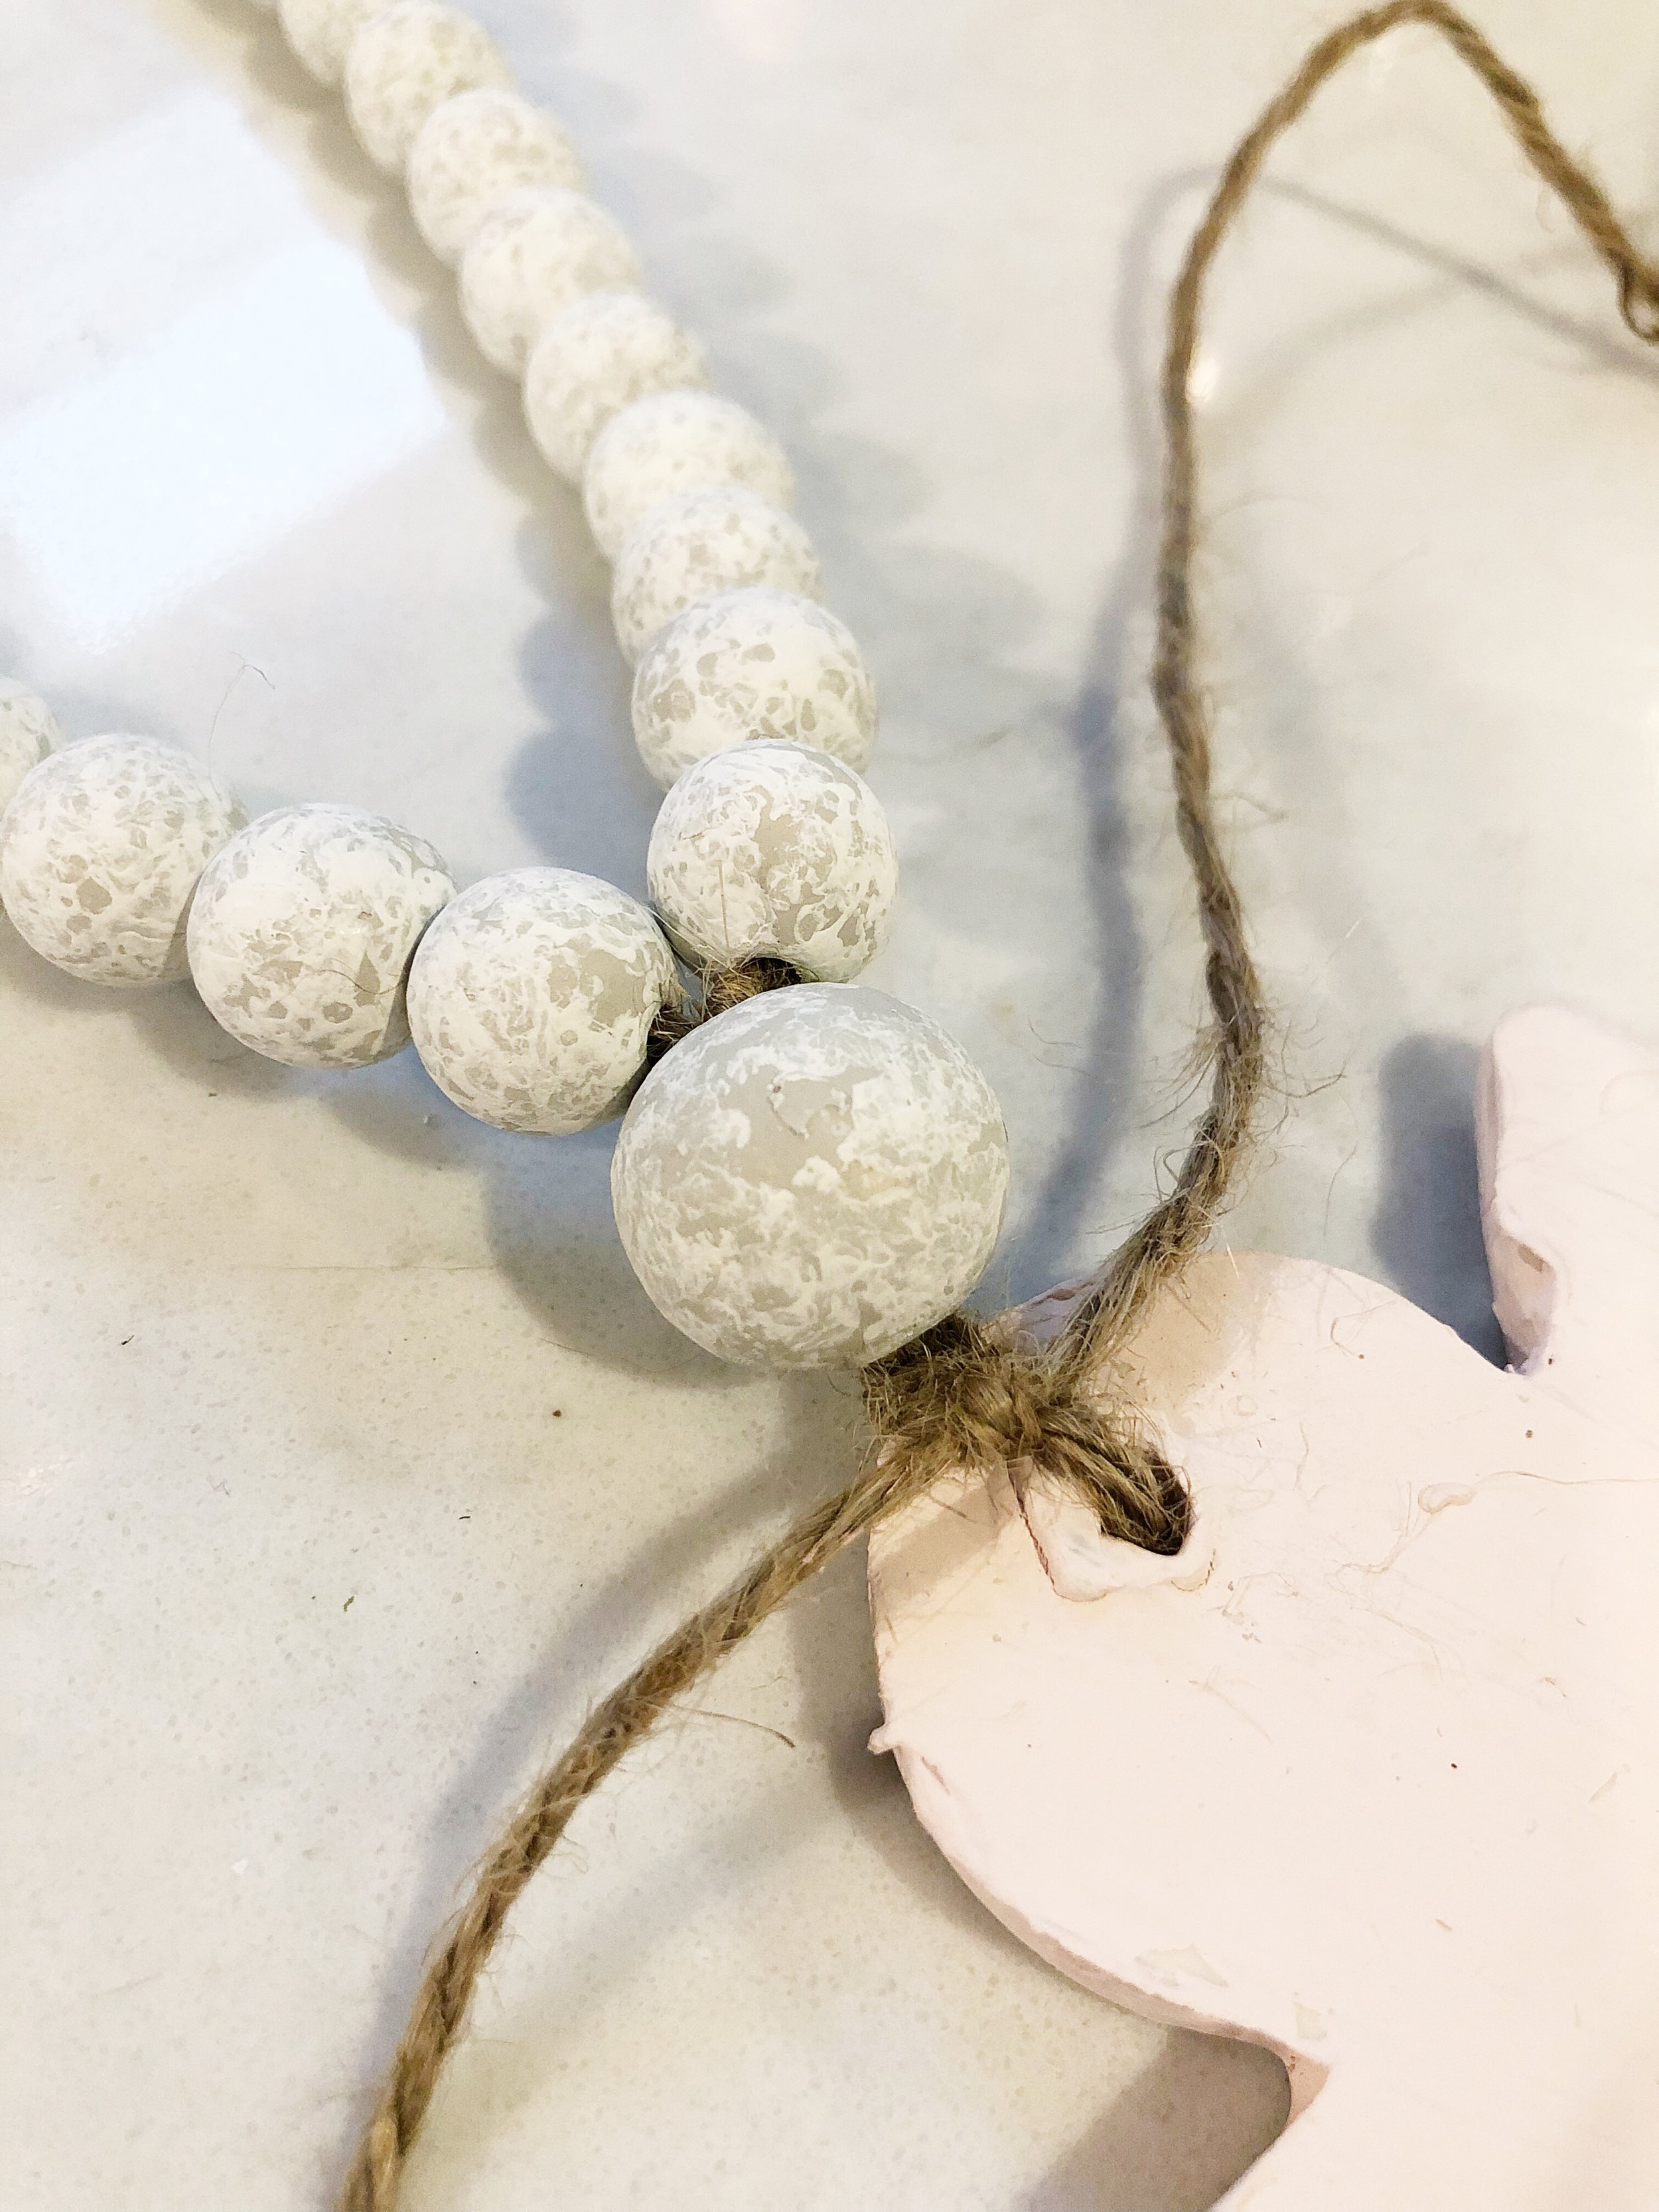
Once you are done threading, tie a knot then thread the beads through the singular bead you were saving below the knot.
Now you are ready to put the clay “charm” on! Thread the twine up under the hole (come from the bottom up).
Then take each side of the twine up through the bottom (back) of the hole and to the front. Tuck each side under one side of the two pieces of twine on the back to secure it before you tie your final knots. Then double knot the twine and cut the extras, and your DONE :)
For gifts, I put these in cellophane bags, fill with some kraft crinkle shredded paper and tie some raffia ribbon around the top!


